

Homemade Coconut Milk Recipe🥥
preservatives and additives. Why not skip all that and make your own homemade coconut milk, using just a few simple ingredients and your trusty juicer? It’s easier than you think and the result is incredibly fresh and creamy.
Equipment
- Juicer Kuvings Auto 10
Ingredients
- 1 fresh coconut (preferably young coconut or mature coconut, depending on your preference)
- 2-3 Medjool dates (adjust to taste for sweetness)
- 4 cups purified water
Instructions
- 1. Crack Open Your CoconutThe first thing you’ll need to do is crack open your coconut. This can be a little tricky if you’ve never done it before, but don’t worry! Use a hammer or a heavy object to hit the coconut along its “eyes” (the three dark indentations on the top) or just crack that baby open on the ground. Once cracked open, drain the coconut water into a bowl (you can drink this or save it for smoothies).
- 2. Extract the Coconut MeatOnce you’ve drained the water, use a spoon or coconut scraper to gently separate the coconut meat from the shell. You’ll need to peel away the brown outer skin if you’re using a mature coconut, but young coconut meat is usually already white and soft.
- 3. Chop the Coconut MeatCut the coconut meat into smaller chunks, which will make it easier to process in the juicer.
- 4. Juicing Time!Now, it’s time to juice! Add the coconut chunks into your juicer, alternating with a bit of purified water (about 1-2 cups). This will help the juicer process the coconut more easily and yield a smoother result. Depending on your juicer, you may need to juice in batches.
- 5. Add Dates for SweetnessOnce the coconut is juiced, add 2-3 Medjool dates into the juicer (or blend them in if your juicer doesn't handle soft fruits). Dates will give your coconut milk a lovely natural sweetness without adding refined sugar.
- 6. Strain (Optional)After juicing, you’ll have a coconut “pulp” that’s too thick to drink. If you want a smoother consistency, you can strain the milk through a nut milk bag or cheesecloth into a large bowl. Gently squeeze out the excess milk, or press it with a spoon to get every last drop of creamy coconut goodness.
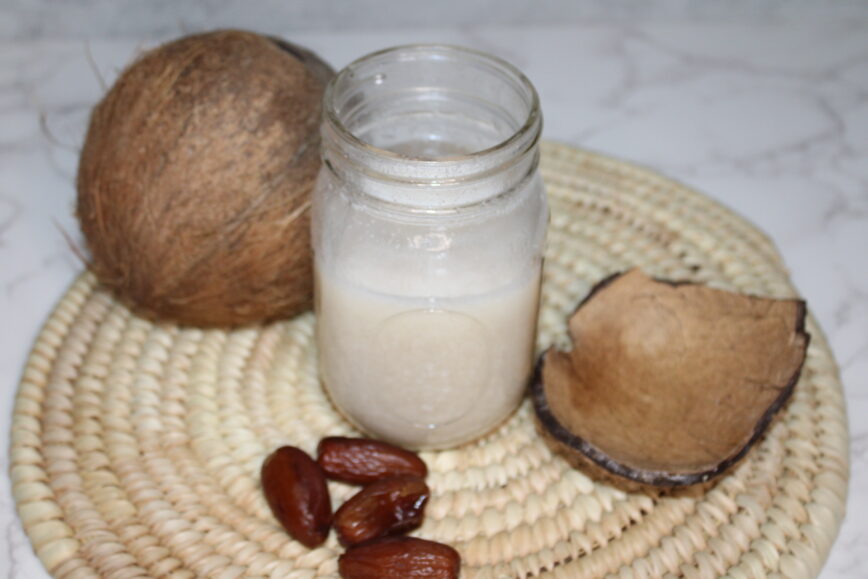
- 7. Store and Enjoy!Pour your fresh coconut milk into a clean glass jar or bottle and store it in the fridge for up to 4-5 days. Be sure to shake the milk before each use, as natural coconut milk can separate over time.
Why Make Coconut Milk at Home?
- No Additives: Store-bought versions often contain preservatives, emulsifiers, and added sugar. By making it yourself, you know exactly what’s going in.
- Freshness: Homemade coconut milk is rich and creamy, with a flavor that’s fresher than anything you can buy.
- Customizable: You can adjust the sweetness and thickness of your milk. Add more dates for a sweeter flavor or use less water if you prefer a thicker consistency.
- Zero Waste: You can use the leftover coconut pulp in smoothies, baking, or as a base for making coconut flour.
Tips & Tricks:
- If you’re looking for a creamier milk, you can reduce the amount of water or add a little coconut oil when blending.
- Experiment with adding a pinch of sea salt or a dash of vanilla for extra flavor.
- Save the leftover coconut pulp to make your own coconut flour by drying it out in the oven or dehydrator.
Now you have a simple, refreshing, and customizable coconut milk recipe to enjoy in smoothies, curries, or just as a delicious beverage on its own. Plus, it’s so satisfying knowing you made it all from scratch!
Give this recipe a try, and let me know how it turns out. Happy juicing! 🥥✨
